30 Uses for Baking Soda

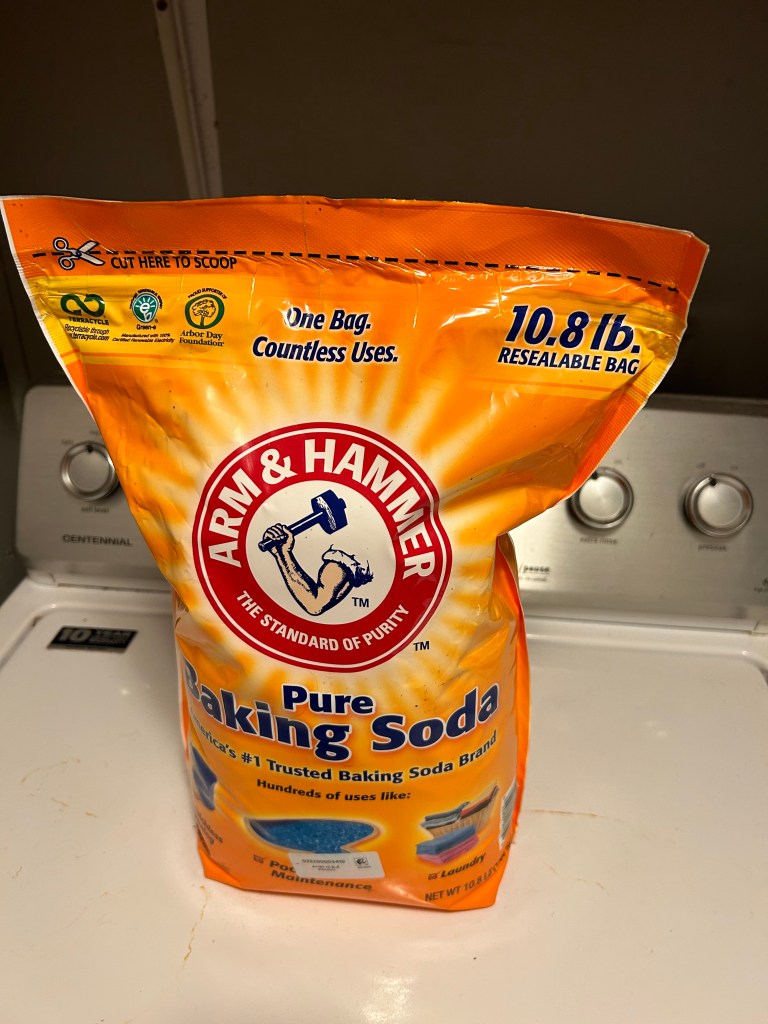
A couple of weeks ago I bought a ten-pound bag of baking soda even though I have some at home that I am already using. Baking soda never goes bad, and I know I’ll use it so buying it in bulk is never a bad investment.

  1. Of course, use it in baking that calls for baking soda
  2. Use baking soda to make baking powder. Mix 2 parts cream of tartar with one part baking soda and one part cornstarch.
  3. Add baking soda to dried beans when cooking to remove excess gassiness.

Baking soda is a versatile ingredient whose uses extend far beyond cooking. It can be used in personal care, medicinally, for cleaning, and more

What’s more, baking soda is inexpensive and widely available. Never let yourself run short.

Personal Care

  • Use as toothpaste
  • Use as a deodorant
  • Use to replace soap
  • Use as an exfoliant
  • Use to deodorize feet in a foot bath
  • Use in place of shampoo to clean scalp and hair
  • make baking soda mouthwash, add 1/2 teaspoon (2 grams) of baking soda to half a glass (120 mL) of warm water, then swish as usual.
  • Treat itchy or sunburned skin by putting 1 cup of baking soda into a warm bath.

Medicinally

  1. Make a paste of baking soda and a small amount of water to treat insect bites especially good for relieving wasp stings
  2. A teaspoon in 8 ounces of water for indigestion or heartburn
  3. Bathe in a tub filled with water and ½ cup of water to treat different types of rashes
  4. Soaking fruit in a solution of baking soda and water for 12–15 minutes will remove nearly all pesticide residue
  5. Use to treat canker sores in your mouth. Dampen your finger, dab a little baking soda onto that finger, and touch it to the canker sore.

For Cleaning

  1. Use as a deodorizer in the refrigerator
  2. Use it to whiten and disinfect most bathroom surfaces, though it’s less effective than commercial cleaners.
  3. Baking soda is a safe alternative to commercial air fresheners, as it’s free of industrial chemicals and neutralizes odor particles
  4. Clean kitchen surfaces like ovens, stained coffee cups, stained marble, grease stains, kitchen tiles, tarnished silver, microwaves, and countertops.
  5. Add 1/2 cup (110 grams) of baking soda to your regular amount of laundry detergent. It also helps soften the water, so you may need less detergent than usual.
  6. Use to scour sinks, toilets, tubs, showers, and ovens. etc. Just dampen with a little water then rinse.
  7.  Mix a tablespoon in a gallon of water to clean the refrigerator
  8. Use baking soda with vinegar to unclog slow running drain. Pour soda into the drain, chase with some vinegar, and use the drain plug to create pressure to push any clogs beyond the drain trap. Remove the plug and pour hot boiling water down the drain to finish the job.
  9. To get rid of garbage odor, baking soda sprinkled into your garbage can will help eliminate garbage smells by neutralizing acidic odor molecules.
  10. A combination of baking soda and vinegar can remove the most stubborn carpet stains.
  11. Clean silverware with baking soda, vinegar and warm water in an aluminum baking pan. Should remove tarnish almost immediately.
  12. Sprinkle a generous amount of baking soda on the bottom of a scorched pot, and add enough water to cover the burnt areas. Bring the mixture to a boil and empty the pan as usual.

Other Uses

  • Pouring baking soda on a grease fire will put it out so always keep your baking soda easily accessible in case of a fire.
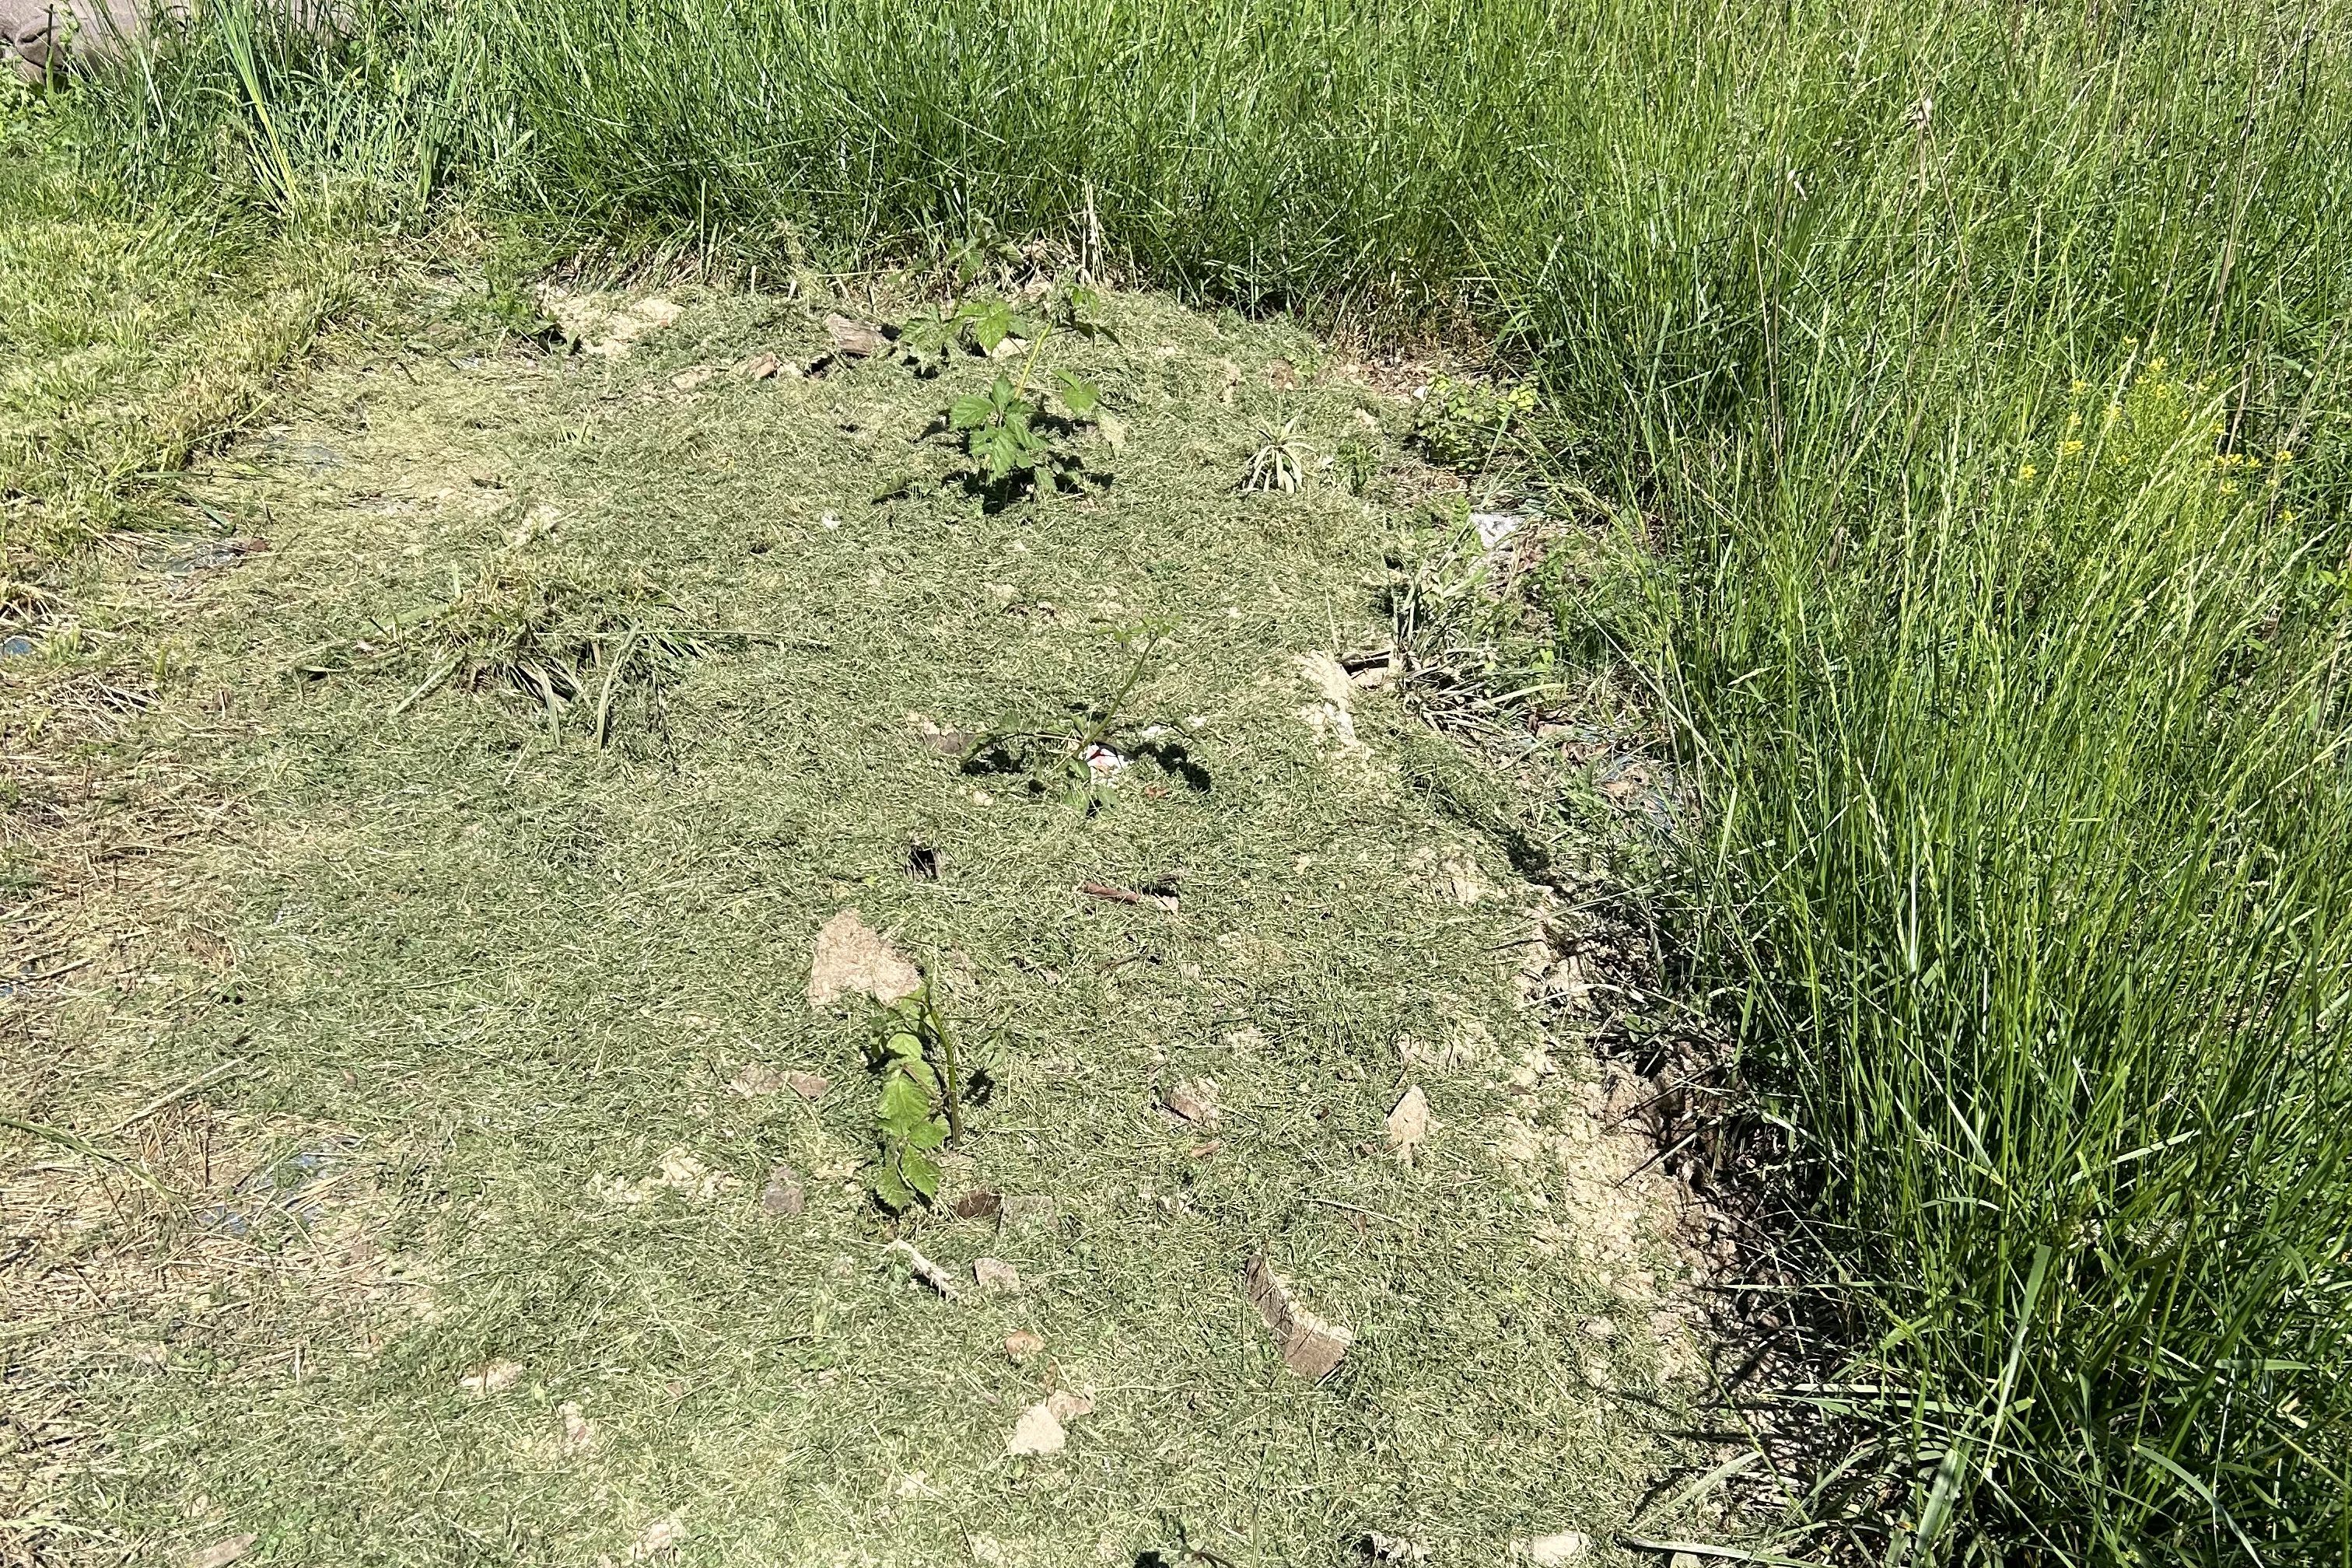
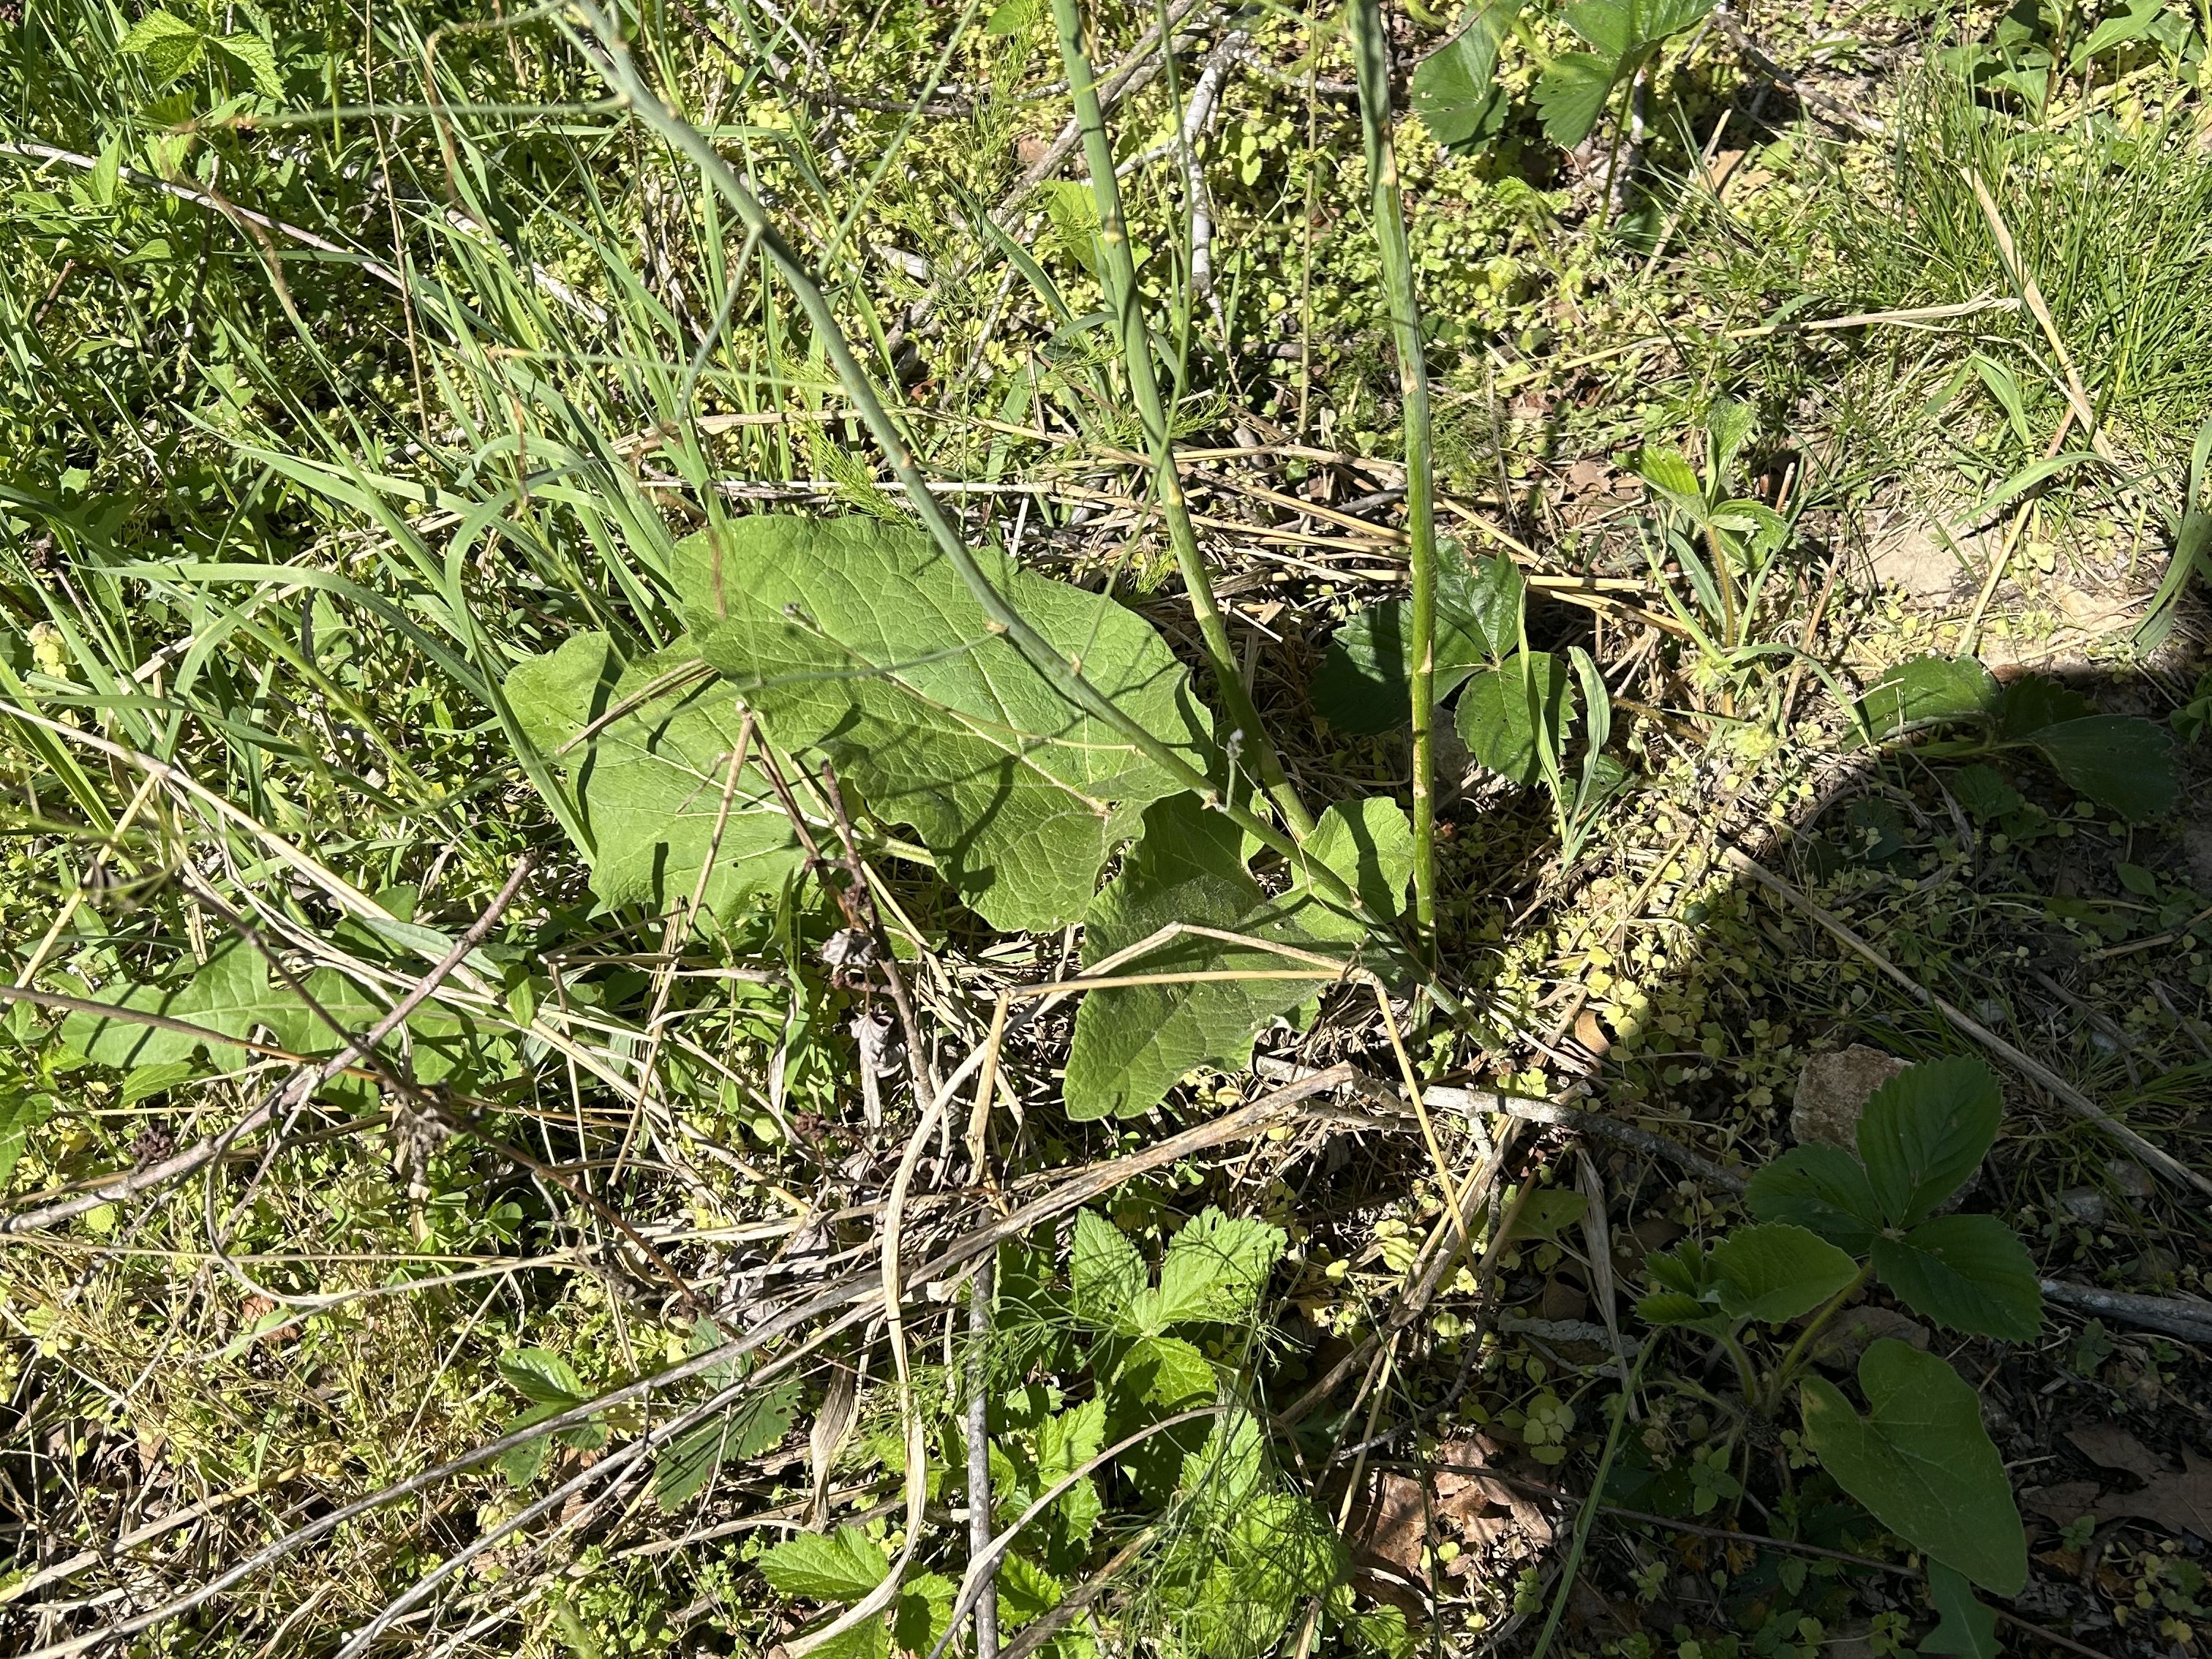
  • Sprinkle a few handfuls of baking soda over weeds in areas like patios and sidewalks where you want to kill off noxious weeds. However, don’t put on flower or garden beds because the baking soda may kill those plants too.

There you have it, my thirty uses for baking soda. Do you know other uses for baking soda? If so, please share them in the comments.

Cleaner Laundry and Solutions to Other Water-Related Issues on the Homestead

Here’s a jug of reconstituted bleach made of 8 tablespoons dry bleach and 81 ounces of water.

I was at Walmart the other day and I saw that they had dry chlorine bleach in the pool aisle. As I compared the price of that dry bleach with the liquid bleach that I normally bought I thought, “Why not give it a try? What have I got to lose?”

Laundry Bleach

So, I bought a small bag of it and took it home. The question became “How much of this dry bleach do I need to turn it into a gallon of liquid bleach?”

I have heard that liquid bleach will last less than a year, but as long as the dry bleach remained in the dry form, it would last indefinitely.

Fortunately, almost immediately, I found a chart that told me that 8 tablespoons (118 grams) of dry bleach added to a gallon of water (3.8 liters) would make a gallon of bleach (3.8 liters).

At this strength, I can use it as I use the regular liquid bleach at a far lower cost.

I used this reconstituted bleach to do my laundry. I used the same amount that I usually use, and it worked as well as the liquid bleach I formerly purchased.

Other Cleaning

Bleach kills germs in other ways as well and I now keep a spray bottle of 1:10 reconstituted bleach to water to use in cleaning. I clean the bathroom fixtures and kitchen fixtures with this bleach water. Not only does it disinfect, but it also removes many stains. However, this same bleaching action can remove color that you don’t want removed so if necessary, test a small area before using bleach in a specific area.

I also like to use a little bleach in the water when I mop the floor. It kills germs there as well.

Water Purification

Closer to what this product is designed for, this product can be used to purify water when necessary.

When I was a hospital corpsman in the US Navy, we were in charge of maintaining the water supply. Chlorine was the way we purified the water. We used that water for cleaning, but also for personal care and drinking water.

Personally, if I were to use it for purifying water to drink, I would add a few drops of the prepared bleach to a gallon of water and then use a charcoal type of filter to remove the chemical and any other toxic substance that might be in the water.

My Gardening Related Books

If you’re interested in putting in a vegetable garden this year, I have written several books that can help you get started. All available on Amazon.

Gourmet Weeds

Gourmet Weeds by Cygnet Brown and Kerry Kelley

Buy Gourmet Weeds

Simply Vegetable Gardening

The Survival Garden

The Four Seasons Vegetable Garden

Help From Kelp

Using Diatomaceous Earth Around the House and Yard

Seven Ways to Save on the Grocery Bill

Since the end of the pandemic, inflation has doubled the grocery bill. We need creative hacks to make the most of our purchasing power.

Purchase Food on Clearance

The first way to save money on the grocery bill is to purchase food on clearance. Several types of food are offered as clearance and can save you a lot of money. Meat, milk, and other dairy products that are close to their expiration date, dented cans (be sure that the cans aren’t leaking and thereby likely spoiled, day-old bread, cans in which the best-by date has passed, and other foods that the store is no longer willing to sell at full price.

Closely related to this are salvage grocery stores. These are stores that sell the foods that didn’t sell at other places and were warehoused until they could be sold. We have saved significantly purchasing at these stores.

A word of caution. Never purchase a lot of something that you don’t know if you’ll eat what you purchase or not. Purchase one, try it and if you love it, buy more, but only if you and your family love it.

Second, plan on using this food before it goes bad. Know what you’ll use them for and when you’ll use them before you bring them home. These are not foods fit for storage, but they will save money on food you buy to use now so you can stock up on other foods for later.

Purchase during Rotating Sales

If you follow certain store ads, you’ll discover that every so many weeks the same foods will be on sale routinely. Purchase whatever you think you’ll need to last until the next sale and it will be like money in the bank.

Holidays also offer special prices on foods you’ll not only use throughout the year, so stock up when possible.  Condiments and hot dogs will be discounted just before Memorial Day, Independence Day, and Labor Day. Certain lunch-type foods will be a part of back-to-school sales, Thanksgiving offers sales on turkey and all of the trimmings, and Christmas offers specials on ham among other things.

In-season fruits are also a great deal. In May/June strawberries and rhubarb, in July blackberries, blueberries, cherries, and peaches, in August/September/October raspberries, apples, and pears are often lower priced. The same can be said for vegetables.

Buy in Bulk

One of my favorite ways of saving money in the long run is buying cooking staples in bulk. I like purchasing items like flour, rice, beans, oatmeal, sugar, salt, and other spices, which I use to create delicious foods. Here’s an article about these basic staples to buy in bulk for the pantry. Crafting Stable Bucket Pantry

We purchase other items in bulk like fruits and vegetables in season. We also purchased bulk quantities of meat when the prices were reasonable.

I purchase items in bulk that I can use in numerous ways. Just a few days ago, I purchased Pool Shock for bleaching laundry. If necessary, I can use this bleach to treat drinking water. Once the water is treated with bleach and allowed to sit for a couple of hours to kill bacteria, I would put it through my water filter to eliminate any chemical contaminants.

I also purchased more than ten pounds of baking soda. Baking soda has many uses. These uses include baking, making baking powder for baking, housecleaning, neutralizing acids, and deodorizing.  

Grow Your Own-Plants, Animals

We have a garden, herb garden, and orchard. We are growing strawberries. We have been increasing our berry production by adding blackberries this year.

We have an orchard with apple, pear, cherry, peach, and mulberry trees. In a couple of years, we hope to have enough of these fruits to eat fresh and to can.

We raise chickens for their eggs, and we prefer not to butcher our chickens.

We have been talking about purchasing milk goats so that we don’t have, but we first need to get enough fencing to keep them where we want them. Milking goats every day would prevent the need to go to the store for bread.

Preserving What You Grow

Preserving what I grow is a process I love to do. I love freezing some foods. For instance, I freeze meat that we will be eating within the next few months, but we preserve most of what we grow for longer-term storage.

Tomatoes are a big star in my canning endeavor. I try to can everything from salsa to whole tomatoes to tomato sauce. I use as many peppers, onions, and garlic as possible in the sauce.

Another vegetable that we can regularly is green beans. Other vegetables get preserved if there is a surplus.

Cook from Scratch

Not only do we save by purchasing and growing our food, but we also use simple ingredients to cook from scratch. Not only does it save money, but cooking from scratch offers us a way to avoid many of the preservatives found in processed food.  

The process of cooking from scratch provides a system by which family members can practice working together.

Learn to Forage

Finally, we are learning about foods we can forage from nature. In the spring there are greens of all kinds. In the summer berries, herbs, and flowers are on the menu. In the fall fruits, nuts, and roots are the primary items that I harvest. I always remember to take only one-third of what is growing. The other two-thirds go to the wild creatures who depend upon them and keep a patch of that plant growing in that location.  

Hunting can be considered a form of foraging. Some people consider hunting as cruelty to animals, but in fact, we are aiding in keeping them healthy. The conservation department controls the number of animals that can grow in the wild in a given area. Too many wild animals of a specific species in a given area and diseases will lower that animal’s population. Harvesting these animals allows us to get the meat rather than depending on diseases to control them.

How do you save money at the grocery store? Did I miss anything? Let us know in the comments what you do to save on your grocery bill?

My Gardening Related Books

If you’re interested in putting in a vegetable garden this year, I have written several books that can help you get started. All available on Amazon.

Gourmet Weeds

https://shop.ingramspark.com/b/084?Bdm3q5kcr0zYvywdeuStOBmX4q0IYJBlMCeUAPi5FNL

Simply Vegetable Gardening

The Survival Garden

The Four Seasons Vegetable Garden

Help From Kelp

Using Diatomaceous Earth Around the House and Yard

The Year of the Massive Cicada Invasion

On Saturday, this past weekend, when I was at the farmers market, we were inundated with cicadas. Near where we always set up our canopies on the ground around the tree, the dead cicada insect frass piled up. In addition, to the frass, the cicadas with their transparent wings and red eyes seemed to be everywhere. They hung around us and didn’t seem to be afraid of us. It almost seemed to enjoy human company.

The insects are loud, sounding a lot like the phasers used on Star Trek. Fortunately for us, they are harmless.

Conversation At the Farmers Market

One man who came to my booth had a cicada perched on his finger as if it were a trained bird.

After the man left, the woman next to me and I talked about these insects. She said that one morning, a couple of weeks ago, she woke up and heard a loud sound that she thought were frogs.

She told her husband. “Boy, the frogs sure are energetic today.’

“They aren’t frogs. They are cicadas.”

She then told me about how she had always associated the sound of cicadas with the fall when the annual cicada hatching occurs here in this region.

These were a special hatching of not just one type of cicada but two kinds. One type came out every thirteen years and the other every seventeen years. They only come out during the same year once every 221 years and this year is that year. The last time these hatchings occurred simultaneously was in 1803 when the Lewis and Clark expedition began. This particular event is particularly important to me because my next book Two Rivers is a fictionalized account of this expedition.

Deep-fried Cicadas anyone?

Another friend told me that she noticed more moths, butterflies, and bees where she lived since the cicadas started coming out. She wondered if the cicadas had anything to do with it.

If I were to guess why that might be, I believe that the trillions of cicadas invading our landscape might have something to do with this, because all kinds of birds and animals love eating cicadas which are high in protein. Even my chickens will eat cicadas before they will eat the chicken feed I give them.

The moths, butterflies, and bees are probably usually on the menu for the animals eating the cicadas, but this rare dish is preferred so they are leaving these other flying insects alone.

I have heard that there are people who also enjoy eating cicadas. For instance, some people like them deep-fried or in stir fry.  

As for me? As one of my friends says, “It’s a hard, no. I’ll pass.”

Gourmet Weeds

Gourmet Weeds by Cygnet Brown and Kerry Kelley

https://shop.ingramspark.com/b/084?Bdm3q5kcr0zYvywdeuStOBmX4q0IYJBlMCeUAPi5FNL

Simply Vegetable Gardening

The Survival Garden

The Four Seasons Vegetable Garden

Help From Kelp

Using Diatomaceous Earth Around the House and Yard

Beans, Planting, Canning, and Harvest

Sometimes the best defense is a fence

Tis the season to be gardening and I have been doing exactly that. On Tuesday this past week,  I finished planting my summer garden.

this week, I canned kidney and pinto beans. I also planted pole beans and harvested lettuce.

Planting Pole Beans

I planted the pole beans next to one of the fences where we had planted the tomatoes last year. I believe that rotating vegetables into different garden areas is important to prevent diseases from building up in the soil.

I dug the soil around the fences, but just immediately around the fences. I plan to mow the grass between the beds to keep it short.

As I was planting the pole beans, I noticed the bush beans I had planted last week were germinating.

Three Reasons That I Can (Bottle) Dried Beans

Some years ago, I started canning dried beans. So why do I can dry beans when they will store just indefinitely in the dried form or purchase beans that are already canned? I have two reasons.

  1. The first reason for canning beans is that by buying beans in their dried form, I can purchase them cheaper than the same kind of beans already canned.
  2. Although I could cook the dried beans as I need them, it’s still cheaper to can several meals worth of beans all at one time. The process uses less energy to do several meals using the same energy as it does to prepare beans for one meal.
  3. In addition, in the summer, having beans that are already canned heats up the house less than cooking the beans in dried form. This will help keep your home cooler during those warm months. Plus, simply heating a can of beans rather than cooking those same beans requires less time to cook at meal times. No extra time required for a good home cooked meal.

How I Can Dried Beans

The canning beans process began Monday night when I soaked the beans for the next day.

The Night Before

First, I needed to decide how many jars I wanted to can. Once I knew how much I wanted to can, I could determine how many beans I needed to help fill those same jars. To determine how many beans it will take to fill the jars, I use ½ cup of dried beans for every pint of canned ones. It was just a matter of math to multiply how many pints I would can the next day. I measure out one-half cup per pint for each jar that I plan to can the following day. (For instance, if I have seven pints to can, I’d measure out 3 ½ cups of dried beans.  I washed the beans and covered them with water to soak them overnight.

Canning Day

 In the morning, I washed the beans again. I covered the beans with water again and boiled them at a full rolling boil for about ten minutes. I rinse the beans one more time before putting them in jars. Next,  I add ½ teaspoon of salt for each pint.

 I pressure canned for 75 minutes for pints or 90 minutes quarts at 10 pounds of pressure where I live. For individuals living at altitudes greater than 1000 feet above sea level, increase to 15 pounds of pressure. Once done, I allow the pressure to release naturally and remove jars from canner.

Once the pressure is down to zero, I remove the pressure weight. I lift the lid carefully avoiding the steam when removing the lid. I use a jar lifter to remove the jars. I set the jars on a clean dry towel where I left the jars until the following morning.  I now have an additional 15 jars to add to my pantry to add to future homemade dishes.  

The Gardening Cycle Completes

Now that the garden is totally in, I am already harvesting lettuce from the garden. As the lettuce comes out, I’ll prepare the soil to put something else into the space vacated by lettuce. I probably won’t do anything right away because I plan to do the entire garden bed soon.

If you’re interested in putting in a vegetable garden this year, I have written several books that can help you get started. All available on Amazon.

Gourmet Weeds

Gourmet Weeds by Cygnet Brown and Kerry Kelley

purchase online

Simply Vegetable Gardening

The Survival Garden

The Four Seasons Vegetable Garden

Help From Kelp

Using Diatomaceous Earth Around the House and Yard

We Couldn’t Pass These Up!

Blackberry plants in ground and mulched with chicken litter and grassclippings

Even though blackberry plants were not on our radar this year, we found such a great deal on them that we couldn’t resist picking up five healthy plants to plant.

At the farmers market last week, one of the Amish families was selling blackberry plants that they had dug up that morning. The blackberry plants were healthy and ready to be put in the ground. I got five plants for just $10. The same five plants would have cost me over ten times as much for the same Triple Crown thornless blackberries. We bought them on Saturday and then planted them on Sunday.

For the planting location of our blackberries, we decided to plant the blackberry plants close to the garden area because we wanted to make watering them as handy as watering the garden. We planted them in a location in the full sun. We planted them in rows going east to west which allowed them to have access to the full sun all day long. We planted them in a straight line along the ridge for another reason too. We planted them in a way we could offer them support which I will explain later in this post.

My husband dug the holes and the two of us amended the soil in the holes with some organic amendments including mycorrhizal fungi so that the plants would more quickly adapt to the surrounding environment.

The blackberries were planted to the same depth to which they had been previously growing. Once they were planted, I mulched them with cardboard and then used small chunks of wood to hold the cardboard in place. We didn’t water them because it had rained the night before and it was going to rain the following night as well.

Cleaning Out the Chicken House

I always like combining projects to complete so I decided to clean out the chicken house and use the nitrogen and carbon-rich material on the blackberries.

Once the blackberries were planted and mulched with cardboard, we knew that we needed to cover the cardboard with another type of mulch. We could have used grass clippings, but since we had to clean out the chicken house anyway, we had used pine shavings in the chicken house. Pine shavings are acidic so I knew that this chicken house litter was perfect to use for mulching the blackberries.

Because it was raining and I couldn’t do much else, I went to the feed store on Monday to pick up new shavings to replace the shavings in the chicken house. By using this chicken manure enabled me to kill two birds with one stone. I cleaned out the chicken house and mulched the blackberries. On Tuesday evening, I replaced the old shavings in the chicken house with the new ones and used the used shavings and the chicken manure to finish mulching the blackberries. Once the manure was in place, we topped the bed off with grass clippings from our yard.

Providing Supports

Once the blackberries were mulched, it was time to support them. Supporting the blackberries will not only make it easier for us to harvest the berries when they ripen, but it also allows for good airflow which prevents various plant diseases.

We put up a fence on the south side of the blackberry plants. We placed the posts south of the plants and the wire on the north side of the posts between the posts and the plants. This way, the blackberry plants leaned against the wire and the wire leaned against the posts because the plants would lean toward the sun in the south.

Purchase Our Gardening Related Books

Gourmet Weeds

Simply Vegetable Gardening

The Survival Garden

The Four Seasons Vegetable Garden

Help From Kelp

Using Diatomaceous Earth Around the House and Yard

Planting the Main Garden

Small apples are on the trees, irises are in full bloom, trees have for the most part leafed out, and most importantly, we have just had blackberry winter. What is blackberry winter? Well, here in the Ozarks, when the blackberries are in bloom, we get our last patch of cold weather and after that, it’s time to plant the main garden plants like tomatoes, peppers, eggplants, and pole beans.

Here was last year’s garden. This year’s will be even better!

Preparing Tomatoes and other transplants for Planting in the Garden

To prepare the transplants I planted over the winter, I first have to “harden the plants off”. Hardening off the plants is the preparing the plants to go outside.

How to Harden Off Plants

You see, plants can’t handle direct sunlight. They have to ease into the sun just like we have to tan to prevent sunburn. To prepare the plants, we have to put the plants outdoors for short periods and gradually increase that time until the plants are no longer negatively affected by all-day sunlight. During this time we have to ensure that the plants have plenty of water, much more than we might otherwise have done before introducing the plants to sunlight. On hot, sunny days, the plants are especially vulnerable.

I give the plants ample time to harden off and start the process long before I plant the transplants in the garden. When cold weather or even nights occur, I brought the transplants into the warmth of the house. If the days were especially cold, often I would keep the plants indoors for a couple of days and then take them back out when the temperatures were above 50 degrees F (10 degrees C) during the day. As time went on, I started leaving the plants outside when the temperatures were above 50 degrees F (10 degrees C), but I decided not to plant them until after Blackberry winter occurred. Then I’d know we weren’t likely to have any more overnight frosts.

Planting Outdoors

During this past week, we had our last frost early in the week and then the blackberries were in bloom. When temperatures went above 70 degrees during the day and in the evening before a night of rain was expected, I planted our tomatoes, peppers, eggplants, onions, and a few annual herbs in the garden beds.

We have eight 4×8 foot raised beds that we surrounded with the fence this year and another larger bed outside the area where we planted potatoes and are using grass clippings to mulch the bed. Our grass-catching lawnmower makes it easy to collect the grass and dump it onto the bed.

In two beds, I put determinant paste tomatoes along with onions, lettuce, swiss chard, and basil. In most of the other beds, I put in the slicing tomatoes, peppers, eggplant, and more onions. I had one bed that I had not yet completely planted, except for tomatoes and some onions.

More to Do, But the Weather Isn’t Cooperating Right Now

I still need to finish that last bed, but right now the rain has kept us out of the garden for the past several days. We’ll be doing more when the rain lets up for a day or so. I’m not complaining though. It is April and we need the rain.

If you’re interested in putting in a vegetable garden this year, I have written several books to help you get started. All are available on Amazon.

Simply Vegetable Gardening

The Survival Garden

The Four Seasons Vegetable Garden

Help From Kelp

Using Diatomaceous Earth Around the House and Yard

The Fruitful Corner Behind the Barn

Mullein (strawberry plants are in the background

Behind one of my sheds is a patch that I don’t have to plant, weed, or fertilize anymore. It can’t even be called a bed because it’s just a collection of plants that are growing as companions to one another. Every one of these perennial plants has a use. Some are for food, some for flavoring, and some for eating either fresh or cooked. In this small space, there is a plant that I can use for the next several months.

First, there’s what I planted there. Originally, I had planted garlic in that area along with these vegetables. The garlic is long gone and the offspring of the original plants have moved to other parts of the garden.

What I Planted

Aspargus and Burdock

Asparagus

I planted asparagus from seed in the autumn of 2019 because I planned to move to our place in the summer of 2020. Instead, because of the pandemic, I moved here in the spring and planted them behind the barn so that they wouldn’t be in the way when they brought our mobile home onto the property. The asparagus could have been picked earlier this spring, but I didn’t realize it was ready as early as it was, I will be paying more attention to it next year. The asparagus is in its permanent location.

Strawberries

That same season, I planted strawberries alongside the asparagus and I have been getting a few berries from the plants for several years. I haven’t had as many as I would like, but I plan to transplant some of them this fall into a better gardening area.

Not only are these delicious berries, but the leaves are also edible. They contain several vitamins and other health benefits. Vitamin C (an antioxidant), calcium (can help with bone health), and iron (can improve red blood cells) are found in the leaves.

Strawberry leaves contain low levels of tannins that serve to help with an upset stomach, cramps, or bloating. 

Oregano with thyme growing beneath its leaves

Oregano and Thyme

I planted oregano and thyme in a small bed in 2020 soon after I moved here. Both can be used fresh and then I dry some for the winter months to use as seasonings. The oregano tends to overtake the bed in the early spring. Although you can’t see it, under the oregano, the thyme grows protected from the heat of summer. When the oregano dies back later in the season, the thyme will take its place in the cooler autumn months.

Oregano is not just a tasty herb. It also is rich in antioxidants, has antibacterial and anti-microbial, and potential anti-cancer properties, and is an anti-inflammatory.

Thyme helps reduce blood pressure, and foodborne bacterial and yeast infections, increases the stability of cooking oils, and improves common skin conditions including acne. Some people claim that it helps against several types of cancer. It can be used to kill the tiger mosquito.

The Weeds

Even though I planted the above plants, there are other plants in this “garden” which I did not plant, but are highly useful for food and medicine.

Lambsquarters

Lambsquarters

Lambsquarters is one of my favorite edible herbs. This herb I have eaten raw in salads and have eaten it cooked and eaten in place of spinach many times. This plant is rich in antioxidants. Lamb’s quarters promote circulation, are good for eye health. Some people believe that it could hasten the healing process and help the body detoxify. It may be good for skin health because it is rich in vitamins and minerals. It may also be good for respiratory health.

Plantain

Plantain can also be eaten raw or cooked. I have also infused it into coconut oil and then combined it with beeswax to make a salve as an effective treatment for insect bites.

Burdock

Burdock roots and leaves can be cooked and eaten. Burdock root has several health benefits. It is a rich source of antioxidants, which help protect your cells from damage and thereby help reduce your risk of chronic diseases, like diabetes, high blood pressure, arthritis, and even some cancers.

It aids in digestion and improves gut health as a source of inulin, a prebiotic fiber. It also contains flavonoids (plant nutrients), phytochemicals, and antioxidants that are known to have health benefits.

Mullein

Mullein is a plant that has many health benefits, especially for respiratory problems, ear infections, and skin conditions. The leaves of the mullein can be made into a tea that helps reduce inflammation, fight infections, loosen mucus, and soothe irritation in the lungs and airways.

The flowers can be made the flowers into an extract, tincture, or steam, (I have made an oil with mullein) to use for ear infections to reduce pain, swelling, and infection in the ear canal. Do not use if you have a ruptured eardrum or fever.

Always consult a doctor before using any of the above remedies suggested above.

If you’re interested in putting in a vegetable garden this year, I have written several books that can help you get started. All are available on Amazon.

Simply Vegetable Gardening

The Survival Garden

The Four Seasons Vegetable Garden

Help From Kelp

Using Diatomaceous Earth Around the House and Yard

A New Kind of Revolution

KONICA MINOLTA DIGITAL CAMERA

This week we celebrate the 249th anniversary of “The Shot Heard Around the World.”

Did you know that the American Revolution didn’t begin when the first shot was fired at Lexington Green in 1775? They started the revolution shortly after the Seven Years’ War (French and Indian War) because the British wanted them to pay taxes to pay what the crown felt was their fair share of the war debt that Britain had acquired.

The British tried to use taxes to collect the revenues from the Americans to pay those debts. However, Americans didn’t like that idea, so they did what they could to prevent the crown from getting any of that money.

Before and during the American Revolution Americans refused to purchase items that were taxed from Great Britain. The British tried to require that Americans buy their goods only through British companies. There was the Stamp Act which required that all goods have a royal stamp if they were to be sold. This didn’t sit well with the American public so the idea of the Stamp Act ended. They tried other ways to deal with the tax deficit. They also refused to provide military for the frontier as a way to keep expenses down. The next thing they tried was the tea tax which led to what became the Boston Tea Party. After that, the Monarchy put its foot down. It was time to put the colonists in their place. Troops were sent to put the rabble-rousers primarily in Boston in their place.

In the meantime, Americans learned to make their own or do without. They learned to grow what they could. They created their herbal remedies and grew flax and sheep so that they could spin yarn and thread to produce their clothes. They harvested animals, nuts, fruits, and vegetables from the surrounding woodlands and fields.

On April 19, 1775, these Americans faced down British regulars and let them know that they weren’t going to take it anymore. This shot heard around the world changed things because a few people decided that enough was enough and they were going to take back control of their lives.

Today, we face a similar situation. We don’t have the say we used to have 60 years ago. Today, four companies control all of the US meat industry. Twenty-five companies control most of the American egg market. Most of our fruit and vegetable companies are being bought out by huge conglomerates like Amazon (recently bought Whole Foods), Walmart, and Target. The adoption of technologies like AI-powered irrigation systems, vertical farming, and robotics is gradually impacting production and distribution processes, offering avenues for future innovation, but is that what we want?

We can feel that there is something wrong with the system. We realize that we have gotten away from our roots.

Lately, I have seen a lot of people complain about the price of everything. This is why I have been trying to produce more of our eggs and vegetables. The price of food, fuel, housing, debt, and all of it. Who’s responsible for the plight we are in?

We can fight back and fighting back begins with producing your own. Like the Minute Men of 1775, we can purchase a small homestead (1-3 acres can produce a lot!) in a rural area. We can pay off our debt as quickly as humanly possible. We no longer need to worry about the daily commute because we now have the internet in many rural areas, and it is becoming easier to find ways to work from home.

We can fight back with shovels and hoes, a computer, and a chicken house. Perhaps even a goat dairy. Is it work? Yes. Is it doable? Yes. We just have to allow ourselves to believe that it is possible.

This Week In My Garden

This week, the leaves on the trees have begun to unfurl green at the end of their branches. Fruit trees and dogwood trees are now in full bloom. It’s time to plant more in the garden. Oak tree leaves are past the size of baby squirrel ears.  If we were growing corn, now would be the time to plant that. However, this year, we will not be growing corn, but I planted celery and herb plants in the garden this past week.

I planted the celery and the herbs in one of the beds where I had planted garlic last year. In the other garlic bed, the cabbage and lettuce plants that I planted last month have been established and are growing well. It won’t be long before I will be able to harvest them and use the greens in meals.

My husband and I live in a small mobile home in the country and it’s big enough to raise a large garden, chickens, and other animals. We have no debt and our annual property taxes are low. So why doesn’t everyone live our lifestyle?

If you’re interested in putting in a vegetable garden this year, I have written several books that can help you get started. All are available on Amazon.

Simply Vegetable Gardening

The Survival Garden

The Four Seasons Vegetable Garden

Help From Kelp

Using Diatomaceous Earth Around the House and Yard

Soldiers Don’t Cry, the Locket Saga Continues in the Locket Saga is about the beginning of the American Revolution that I’m sure you’ll enjoy.

What to Do If Your Plants Are Too Big for Their Containers

healthy young tomato plants
Healthy young tomato plants in peat pots

I still have a few weeks before I can safely plant the tomatoes in the garden. However, the tomatoes have outgrown their pots so I need to transplant them into bigger containers.

How to transplant tomatoes

At this point in a tomato plant’s growth, it is important to plant them in a large enough container to allow them to grow deep roots, but not so big that it makes transplanting more difficult later. Ideally, when I am ready to put the plants in the ground, the roots need to fill the container so that the plant easily slides out of the pot. If the plants haven’t grown enough to fill the pot, the soil around the tomato plant will spill out everywhere. So judging the size of the transplant container is important. Also, be sure that each pot has proper drainage because you don’t want the plants to become water-logged.

Once you have the containers that you need to transplant your tomatoes, you will need to get good soil to plant your tomatoes in. You don’t want to transplant into the same kind of soil in which you started your seedlings, nor do you want to use just garden soil. When I transplant into larger containers, I like to use a combination of the seedling medium and the garden soil so that the tomatoes can begin adjusting to the denser garden soil. Be sure that you have properly moistened the soil with enough water to moisten the soil, but not so much that it is saturated. Ensure that the soil is moistened to the dampness of a rung-out sponge.

Next, you’ll want to add organic amendments to your soil. At this stage, you can add amendments that promote growth.

Once you have your pots and amended soil, it’s time to transplant the tomatoes. Put enough soil in the bottom of each pot so that only the plant’s leaves are above the soil. Do this because the tomato stem below the soil will sprout roots instead of leaves and you’ll develop a better root system.

Fill the pot around the tomato plant with soil and then saturate the planted tomato with water allowing the excess water to drain out the bottom of the pot. Now put your tomato plants back under lights or in a sunny spot and monitor them twice per day for the first few days to ensure that they stay hydrated. Water the plants as needed.

If you’re interested in putting in a vegetable garden this year, I have written several books that can help you get started. All are available on Amazon.

Simply Vegetable Gardening

The Survival Garden

The Four Seasons Vegetable Garden

Help From Kelp

Using Diatomaceous Earth Around the House and Yard