
Earlier this week, on my other blog, Author Cygnet Brown, I told a story about resilience and how it helps us get through bad times. Check out my post When All Hell Breaks Loose to understand the psychology of resilience. There I told the story about a situation that I faced at the end of my active-duty career, and today, I want to talk about something toward the beginning of my career.
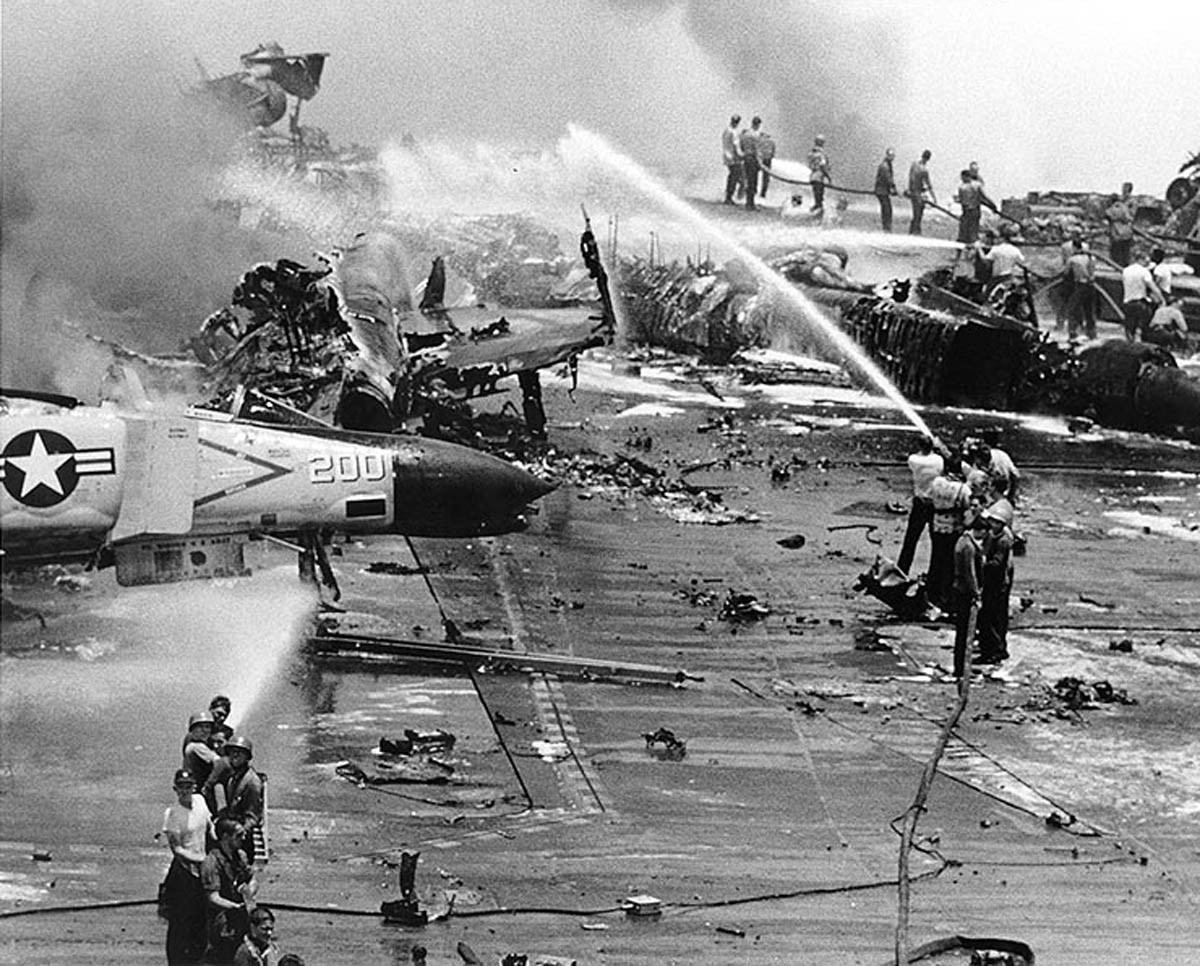
Back when I was in Navy boot camp, one of the things that we had to do was watch a disaster that happened on the USS Forrestal back in 1967. Seemingly “unimportant” missteps caused the disaster on the aircraft carrier killing 134 and injuring another 161 sailors. The damage exceeded 72 million dollars or $509 million in today’s dollars.
The lessons that they learned about “what not to do” when there’s a fire onboard ship, we learned as we watched this video. In addition to helping us view these lessons that the crew learned, this disaster also changed a lot of general operating procedures making the formerly lax crews aboard ship more regulated. Things like discipline, wearing uniforms properly, and general quarters drills were among the lessons that are helping future sailors prevent future disasters on board ships.
Personal Disasters
The same is true with personal or natural disasters that happen to us. A few years ago, we had an ice storm leaving us without electricity for ten days. Although I had been somewhat prepared for the event, it went on longer than I had anticipated so I learned what I needed to adjust what I did to prevent this disaster from reoccurring in the future
We don’t have to personally face disasters before we start preparing to lessen a disaster’s effects. We can prepare for disasters ahead of time by imagining what could happen and begin to prepare for them.
Protecting Against Potential Disasters
If I started thinking today about how I would respond to disasters where I live, what would I do? What should I do? Where would I start if I wanted to prepare my home against potential disasters?
First I would start by determining what type of potential disasters I might face here and then prioritize them in order of probability.
Make a List of Potential Disasters You Might Have to Face
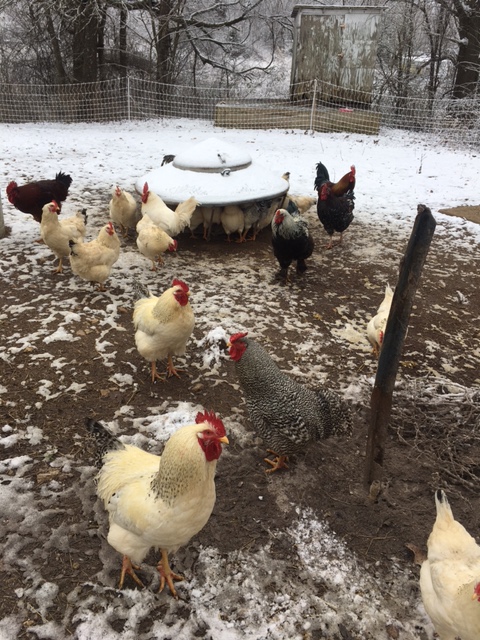
Where I live, we have occasional ice storms, occasional tornados, a job loss, snowstorms, extremely cold temperatures, heat waves, pandemics, and flooding in low-lying areas (I live on a hill so that’s not really a problem for me except in the garden.)
There are also things like nuclear disasters or the end of the world as we know it, and perhaps we could think in those terms, but it’s not where I’d start.
Create an ongoing exhaustive list of disasters that you might have to face where you live no matter how remote the possibility and then place them in order of preparation importance.
Where you live might be different in many ways, but since all of us are affected by electrical outages from time to time, planning for one that lasts a few days in winter or summer would be a good disaster to begin preparing for first.
Make An Inventory of What You Have
The next project should be to make a list of what you already have to face the next time you might have to face this type of disaster. Since we’ve looked at a power outage as one of the most likely, take a look at what you already have on hand.
First, determine where a power outage would create a problem in everyday living. Examine the ways that you are dependent on electricity. Heating? Cooling? Refrigeration? Lights? Food preparation? Laundry? Water heating? Running your well pump? Also, if the electrical outage is widespread and you have city water, it might be necessary to boil your water for drinking if you drank from the tap.
Now think about what you would or could do if this disaster happened today. What do you already have that you can use to make living without electricity bearable? Make an inventory of what you have on hand. Do you have flashlights? Do you have easy to open and eat food that doesn’t require cooking? What about water or other drinks? Blankets? Consider things like your outdoor grill can be used for cooking. Your phone can be charged to use as a light or communication device. Do this before buying anything. Do this for every possible scenario that you listed in your inventory.
Fill in the Gaps
Begin by filling in the gaps in your inventory. Do you have shelf-stable food? Do you have water enough to last for several days?
To give you an idea of how much water to store, have two gallons per person per day for drinking and personal and general clean up. Have a way to filter and boil water in case water is no longer potable.
What would you like to use for heating, cooling, and cooking? If the ideal situation is not in your budget, what can you do now to augment the solutions you already have? As an example, for heating our house, we use a wood stove. We make sure to have enough wood at the beginning of winter to last us the whole season. We have several ways to cook food from our outdoor propane grill, an outside charcoal grill, a smoker, and a butane cook stove we can use indoors. Our air conditioners are smaller units that can be used with 110 so if we’re desperate, we can use our gas-powered generator for cooling in the summertime.
Do you have medical supplies? Medical disasters don’t have to be huge. A paper cut can be disastrous if the cut leads to infection and the infection leads to gangrene or staph infection. Better to treat the paper cut at the beginning with a bandage and some antibiotic. A well-stocked medical bag is a must for every prepared home.
Finally, there’s the safety issues. One of the first things that most men will think of regarding safety is having a gun and ammunition, but there’s much more to safety than having a weapon. Good locks on the doors, solar motion sensor lights, smoke and carbon monoxide alarms, and fire extinguishers are some of the ways that safety can be increased in your home. Understanding the gray man principle also helps in this area.
Learning Related Skills
Just having supplies is not enough. It’s important to know how to use what you’ve got. A hundred pounds of dried beans and a hundred pounds of white rice are not going to help you at all if you don’t know how to use them. Nor is a well-stocked medical bag if you don’t know how to use the supplies. A gun and ammunition owned by someone who doesn’t know gun safety or how to properly clean the weapon, not only can be dangerous but IS dangerous.
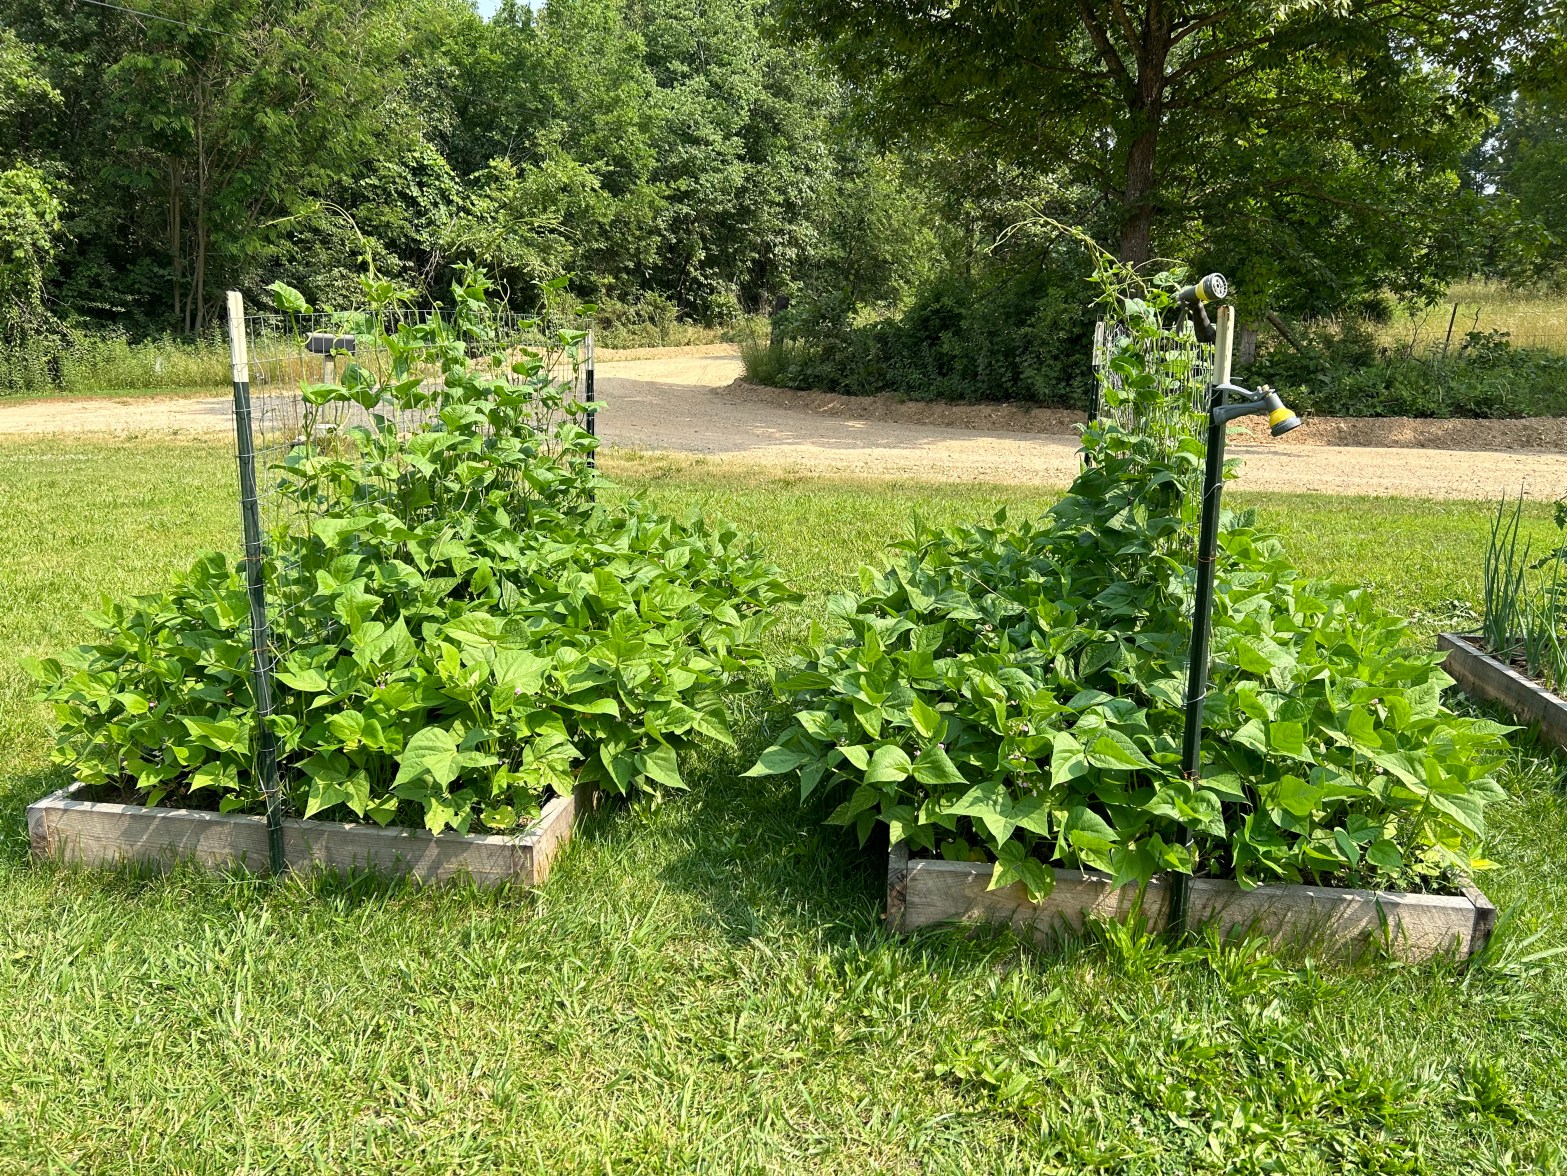
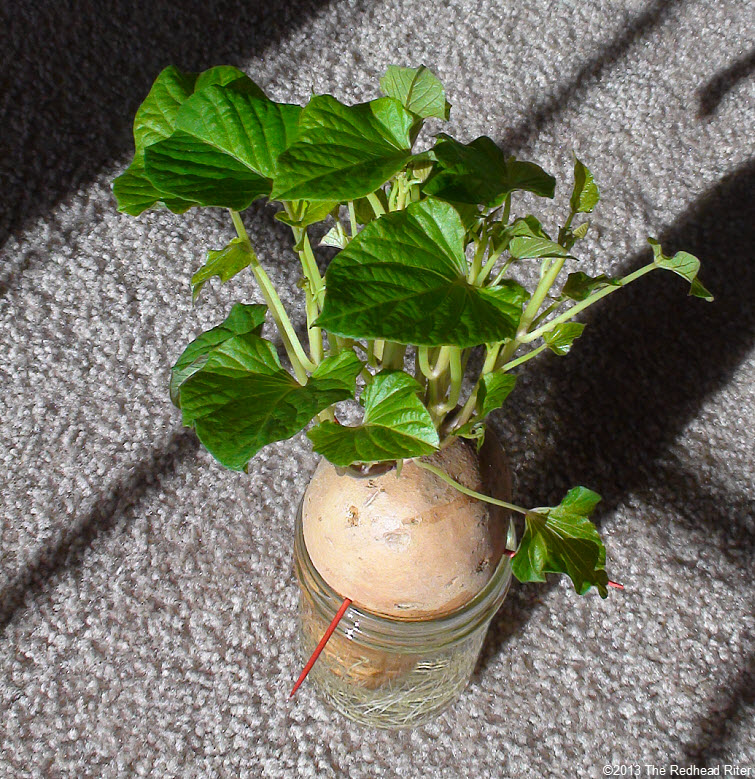
Gardening isn’t something to learn when you’re desperate either. Putting seeds in the ground and expecting those seeds to feed you could be a death sentence if you don’t know what you’re doing.
So many ways exist to learn these skills. There are hundreds of classes, videos, books, and blogs like this one to discover what things you can do to protect yourself from disaster some are ways that you’ve never even thought about.
Don’t be shortsighted like the United States Navy before the Forrestal disaster in 1967. Begin today for whatever may come your way.
Is gardening or homesteading part of your preparedness plan? Consider reading the gardening books I wrote.
Gourmet Weeds

Purchase in paperback on Ingram Spark
Simply Vegetable Gardening
The Survival Garden
The Four Seasons Vegetable Garden
Help From Kelp
Using Diatomaceous Earth Around the House and Yard